DevOps Guide
Git LFS
Setup git-lfs Server
- From the AWS Management Console, launch the Amazon EC2 instance from an Amazon Machine Image (AMI) that has Ubuntu 64-bit as base operating system.
- Choose a security group that will allow SSH access as well as port 8080 to access your git lfs server. You should only enable ingress from the IP addresses you wish to allow access to your server.
- On AWS Management Console go to Services menu from top bar and open the Amazon S3 console.
- Click Create Bucket, it will opens a new dialog window.
- On the Name and region tab, provide appropriate name (should be DNS compliant) and desired region, then Click Next button in the bottom.
- Leave Set properties as is and click Next again.
- On Set Permissions tab, set read and write access for your git-lfs user. and Click next.
- Verify your settings on Review tab. If you want to change something, choose Edit. If your current settings are correct, choose Create bucket.
- Connect to the ec2 instance via SSH.
- Add NodeSource APT repository for Debian-based distributions repository AND the PGP key for verifying packages:
$ curl -sL https://deb.nodesource.com/setup_6.x | sudo -E bash -
- Install Node.js from the Debian-based distributions repository:
$ sudo apt-get install -y nodejs
- To confirm that Node.js was successfully installed on your system, you can run the following command:
$ node -v
If Node is installed, this command should print out something like this:
v6.9.1
- To get the most up-to-date npm, you can run the command:
$ sudo npm install npm –global
- Next, you can directly install git-lfs server using node package manager by executing following command:
$ sudo npm install node-git-lfs
- Git LFS server offers two method of configuration, via environment variable or configuration file. At this step you have to define some environment variables to configure the server:
- LFS_BASE_URL - URL of the LFS server - required
- LFS_PORT - HTTP portal of the LFS server, default to 3000 - required
- LFS_STORE_TYPE - Object store type, can be either s3 (for AWS S3) or grid (for MongoDB GridFS), default to s3 - required
- LFS_AUTHENTICATOR_TYPE - Authenticator type, can be basic (for basic username and password), none (for no authentication), default to none - required
- LFS_AUTHENTICATOR_USERNAME - Username - required
- LFS_AUTHENTICATOR_PASSWORD - Password - required
- AWS_ACCESS_KEY - AWS access key - required
- AWS_SECRET_KEY - AWS secret key - required
- LFS_STORE_S3_BUCKET - AWS S3 bucket - required
- LFS_STORE_S3_ENDPOINT - AWS S3 endpoint, normally this will be set by region
- LFS_STORE_S3_REGION - AWS S3 region
Set Aws access key, secret ky and s3 details based on previous steps.
- Now start git lfs server:
$ node-git-lfs
- At the end, create file named .lfsconfig in you repository with following contents, update host and port based on your environment.
- [lfs]
- url = “http://host:port/LBNL-UCB-STI/beam.git” batch = true access = basic
This will setup everything you need to setup and install a custom gitl-lfs server on Amazon instance and github repository will start pointing to the your custom server. There is no special installation or requirement for the clint, only thing that you need is to provide lfs user name and password on you client when you pull your contents for the first time.
Jenkins
Setup Jenkins Server
From the AWS Management Console, launch the Amazon EC2 instance from an Amazon Machine Image (AMI) that has Ubuntu 64-bit as base operating system.
Choose a security group that will allow SSH access as well as port 8080, 80 and 443 to access your Jenkins dashboard. You should only enable ingress from the IP addresses you wish to allow access to your server.
Connect to the instance via SSH.
Add oracle java apt repository:
$ sudo add-apt-repository ppa:webupd8team/java
Run commands to update system package index and install Java installer script:
$ sudo apt update; sudo apt install oracle-java8-installer
Add the repository key to the system:
$ wget -q -O - https://pkg.jenkins.io/debian/jenkins-ci.org.key | sudo apt-key add - .
Append the Debian package repository address to the server’s sources:
$ echo deb https://pkg.jenkins.io/debian-stable binary/ | sudo tee /etc/apt/sources.list.d/jenkins.list
Run update so that apt-get will use the new repository:
$ sudo apt-get update
Install Jenkins and its dependencies, including Java:
$ sudo apt-get install jenkins
Start Jenkins:
$ sudo service jenkins start
Verify that it started successfully:
$ sudo service jenkins status
If everything went well, the beginning of the output should show that the service is active and configured to start at boot:
jenkins.service - LSB: Start Jenkins at boot time Loaded: loaded (/etc/init.d/jenkins; bad; vendor preset: enabled) Active:active (exited) since Thu 2017-04-20 16:51:13 UTC; 2min 7s ago Docs: man:systemd-sysv-generator(8)
- To set up installation, visit Jenkins on its default port, 8080, using the server domain name or IP address:
An “Unlock Jenkins” screen would appear, which displays the location of the initial password
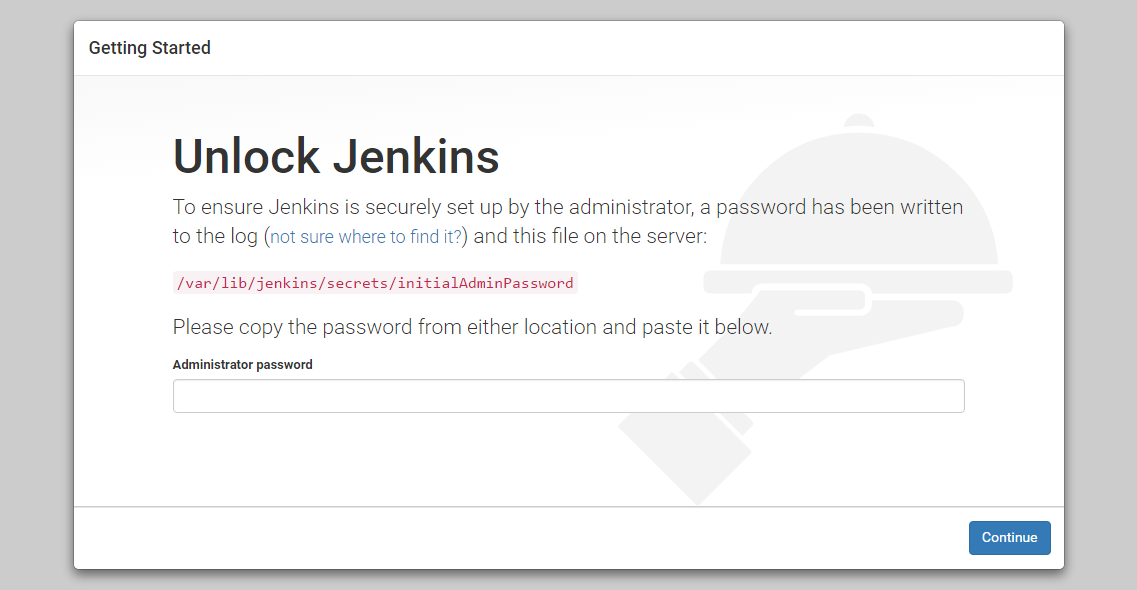
In the terminal window, use the cat command to display the password:
$ sudo cat /var/lib/jenkins/secrets/initialAdminPassword
Copy the 32-character alphanumeric password from the terminal and paste it into the “Administrator password” field, then click “Continue”.
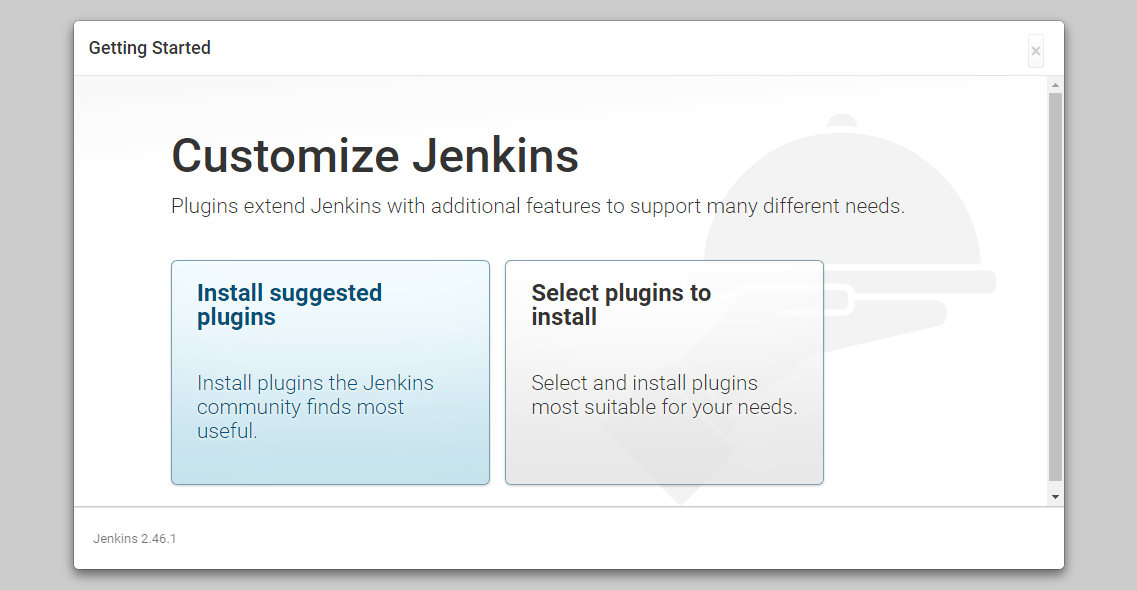
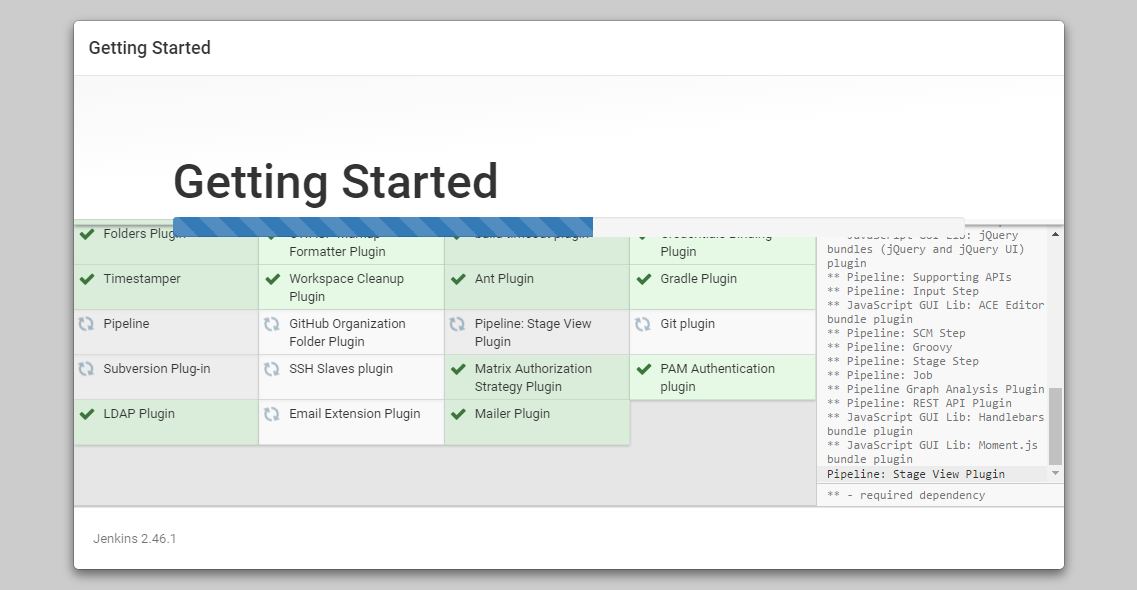
- Click the “Install suggested plugins” option, which will immediately begin the installation process.
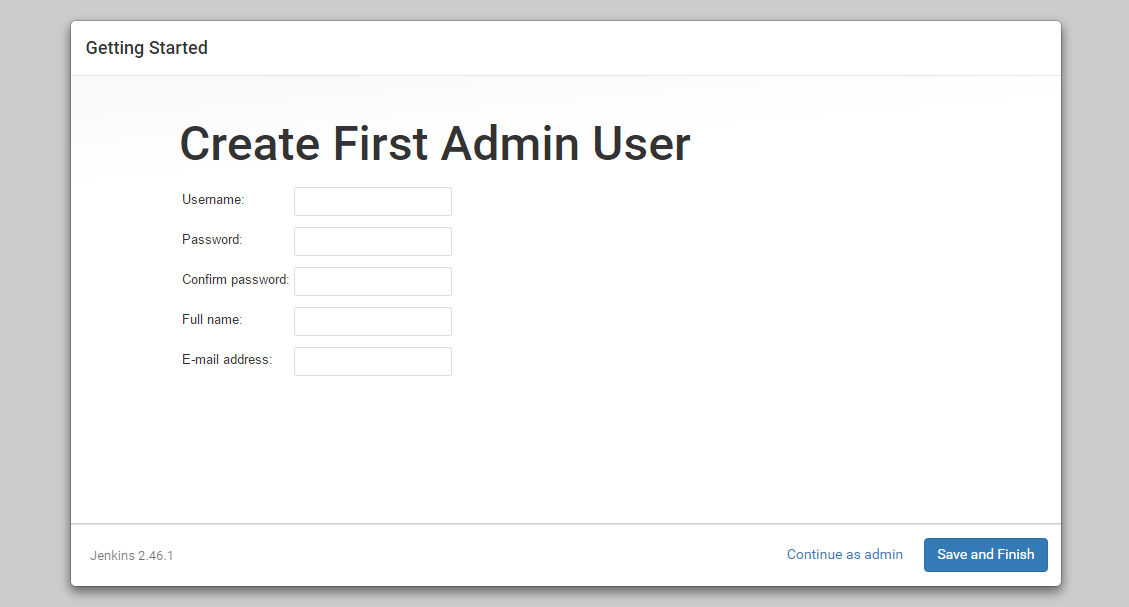
- When the installation is complete, it prompt to set up the first administrative user. It’s possible to skip this step and continue as admin using the initial password used above, but its batter to take a moment to create the user.
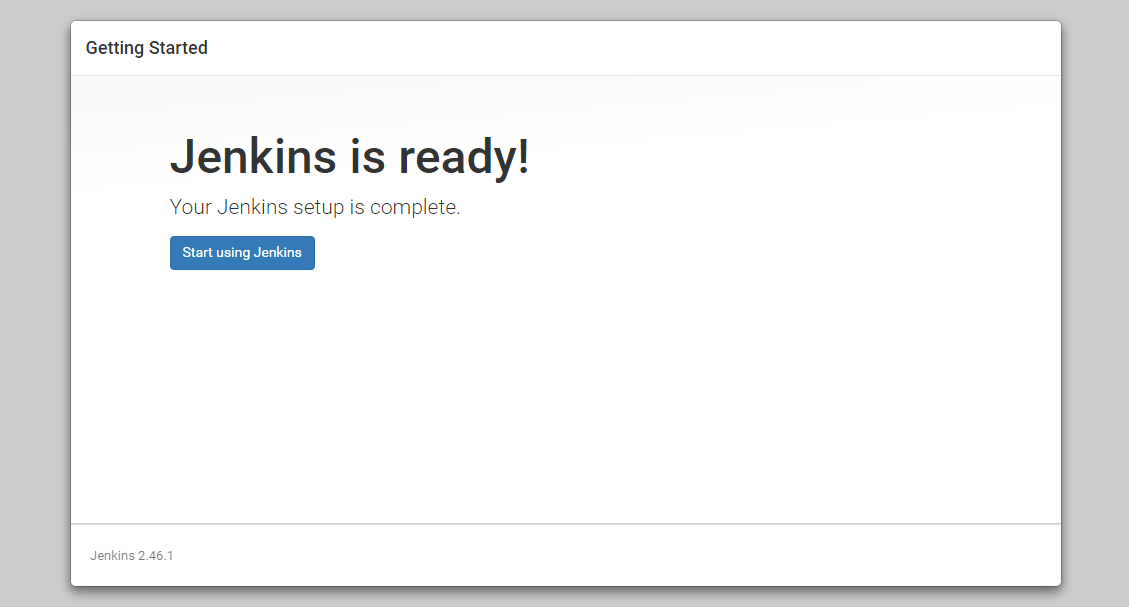
- Once the first admin user is in place, you should see a “Jenkins is ready!” confirmation screen.
- Click “Start using Jenkins” to visit the main Jenkins dashboard.
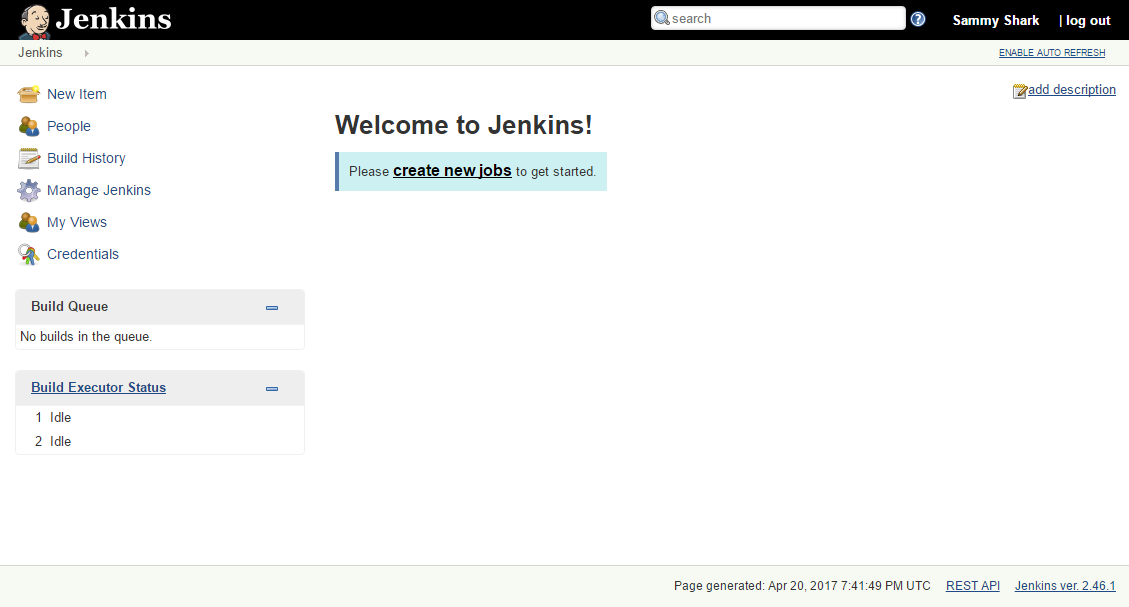
At this point, Jenkins has been successfully installed.
Update your package lists and install Nginx:
$ sudo apt-get install nginx
To check successful installation run:
$ nginx -v
Move into the proper directory where you want to put your certificates:
$ cd /etc/nginx
Generate a certificate:
$ sudo openssl req -x509 -nodes -days 365 -newkey rsa:2048 -keyout /etc/nginx/cert.key -out /etc/nginx/cert.crt
Next you will need to edit the default Nginx configuration file:
$ sudo vi /etc/nginx/sites-enabled/default
Update the file with following contents:
- server {
- listen 80; return 301 https://$host$request_uri;
}
- server {
listen 443; server_name beam-ci.tk;
ssl_certificate /etc/nginx/cert.crt; ssl_certificate_key /etc/nginx/cert.key;
ssl on; ssl_session_cache builtin:1000 shared:SSL:10m; ssl_protocols TLSv1 TLSv1.1 TLSv1.2; ssl_ciphers HIGH:!aNULL:!eNULL:!EXPORT:!CAMELLIA:!DES:!MD5:!PSK:!RC4; ssl_prefer_server_ciphers on;
access_log /var/log/nginx/jenkins.access.log;
- location / {
proxy_set_header Host $host; proxy_set_header X-Real-IP $remote_addr; proxy_set_header X-Forwarded-For $proxy_add_x_forwarded_for; proxy_set_header X-Forwarded-Proto $scheme;
# Fix the “It appears that your reverse proxy set up is broken” error. proxy_pass http://localhost:8080; proxy_read_timeout 90;
proxy_redirect http://localhost:8080 https://beam-ci.tk;
}
}
For Jenkins to work with Nginx, you need to update the Jenkins config to listen only on the localhost interface instead of all (0.0.0.0), to ensure traffic gets handled properly. This is an important step because if Jenkins is still listening on all interfaces, then it will still potentially be accessible via its original port (8080).
Modify the /etc/default/jenkins configuration file to make these adjustments:
$ sudo vi /etc/default/jenkins
Locate the JENKINS_ARGS line and update it to look like the following:
$ JENKINS_ARGS="--webroot=/var/cache/$NAME/war --httpListenAddress=127.0.0.1 --httpPort=$HTTP_PORT -ajp13Port=$AJP_PORT"
Then go ahead and restart Jenkins:
$ sudo service jenkins restart
After that restart Nginx:
$ sudo service nginx restart
You should now be able to visit your domain using either HTTP or HTTPS, and the Jenkins site will be served securely. You will see a certificate warning because you used a self-signed certificate.
Next you install certbot to setup nginx with as CA certificate. Certbot team maintains a PPA. Once you add it to your list of repositories all you’ll need to do is apt-get the following packages:
$ sudo add-apt-repository ppa:certbot/certbot
Run apt update:
$ sudo apt-get update
Install certbot for Nginx:
$ sudo apt-get install python-certbot-nginx
Get a certificate and have Certbot edit Nginx configuration automatically, run the following command:
$ sudo certbot –nginx
The Certbot packages on your system come with a cron job that will renew your certificates automatically before they expire. Since Let’s Encrypt certificates last for 90 days, it’s highly advisable to take advantage of this feature. You can test automatic renewal for your certificates by running this command:
$ sudo certbot renew –dry-run
Restart Nginx:
$ sudo service nginx restart
Go to AWS management console and update the Security Group associated with jenkins server by removing the port 8080, that you added in step 2.
Setup Jenkins Slave
Now configure a Jenkins slave for pipeline configuration. You need the slave AMI to spawn automatic EC2 instance on new build jobs.
Create Amazon EC2 instance from an Amazon Machine Image (AMI) that has Ubuntu 64-bit as base operating system.
Choose a security group that will allow only SSH access to your master (and temporarily for your personal system).
Connect to the instance via SSH.
Add oracle java apt repository and git-lfs:
$ sudo add-apt-repository ppa:webupd8team/java*
$ sudo curl -s https://packagecloud.io/install/repositories/github/git-lfs/script.deb.sh | sudo bash*
Run commands to update system package index:
$ sudo apt update
Install Java and other dependency components, there is no need to install any jenkins component or service. Jenkins automatically deploy an agent as it initiates the build:
$ sudo apt install git docker oracle-java8-installer git-lfs=2.3.4
SSH master that you created in last topic and from inside master again ssh your newly created slave, just to test the communication:
$ ssh ubuntu@<slave_ip_address>
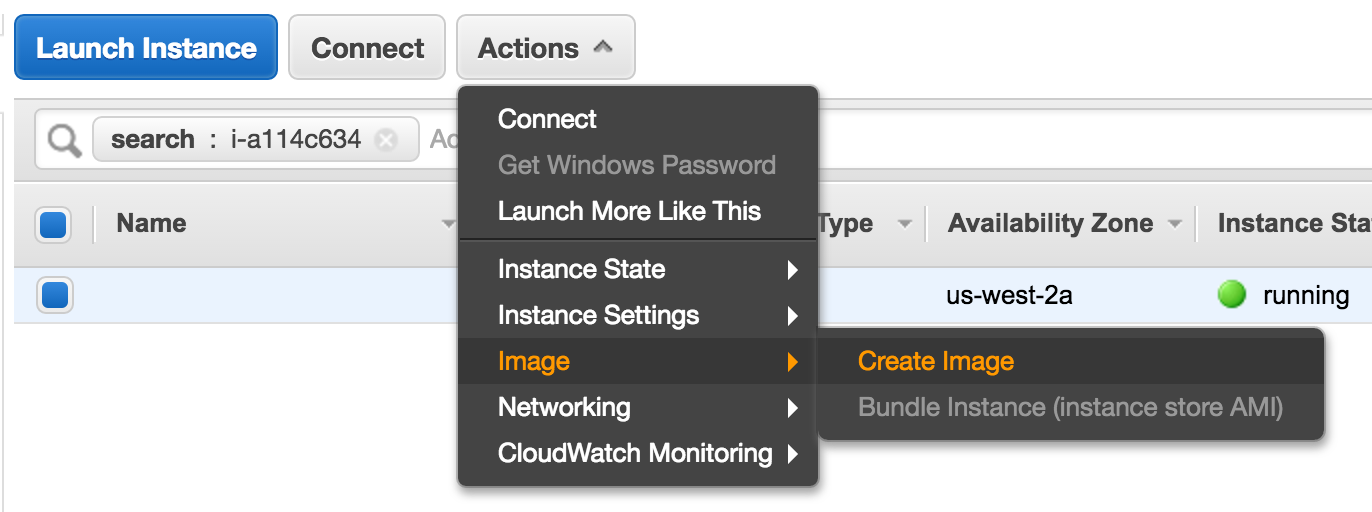
In EC2 Instances pane, click on your Jenkins slave instance you just configure, and create a new image.
- On Create Image dialog, name the image and select “Delete on Termination”. It makes slave instance disposable, if there are any build artifacts, job should save them, that will send them to your master.
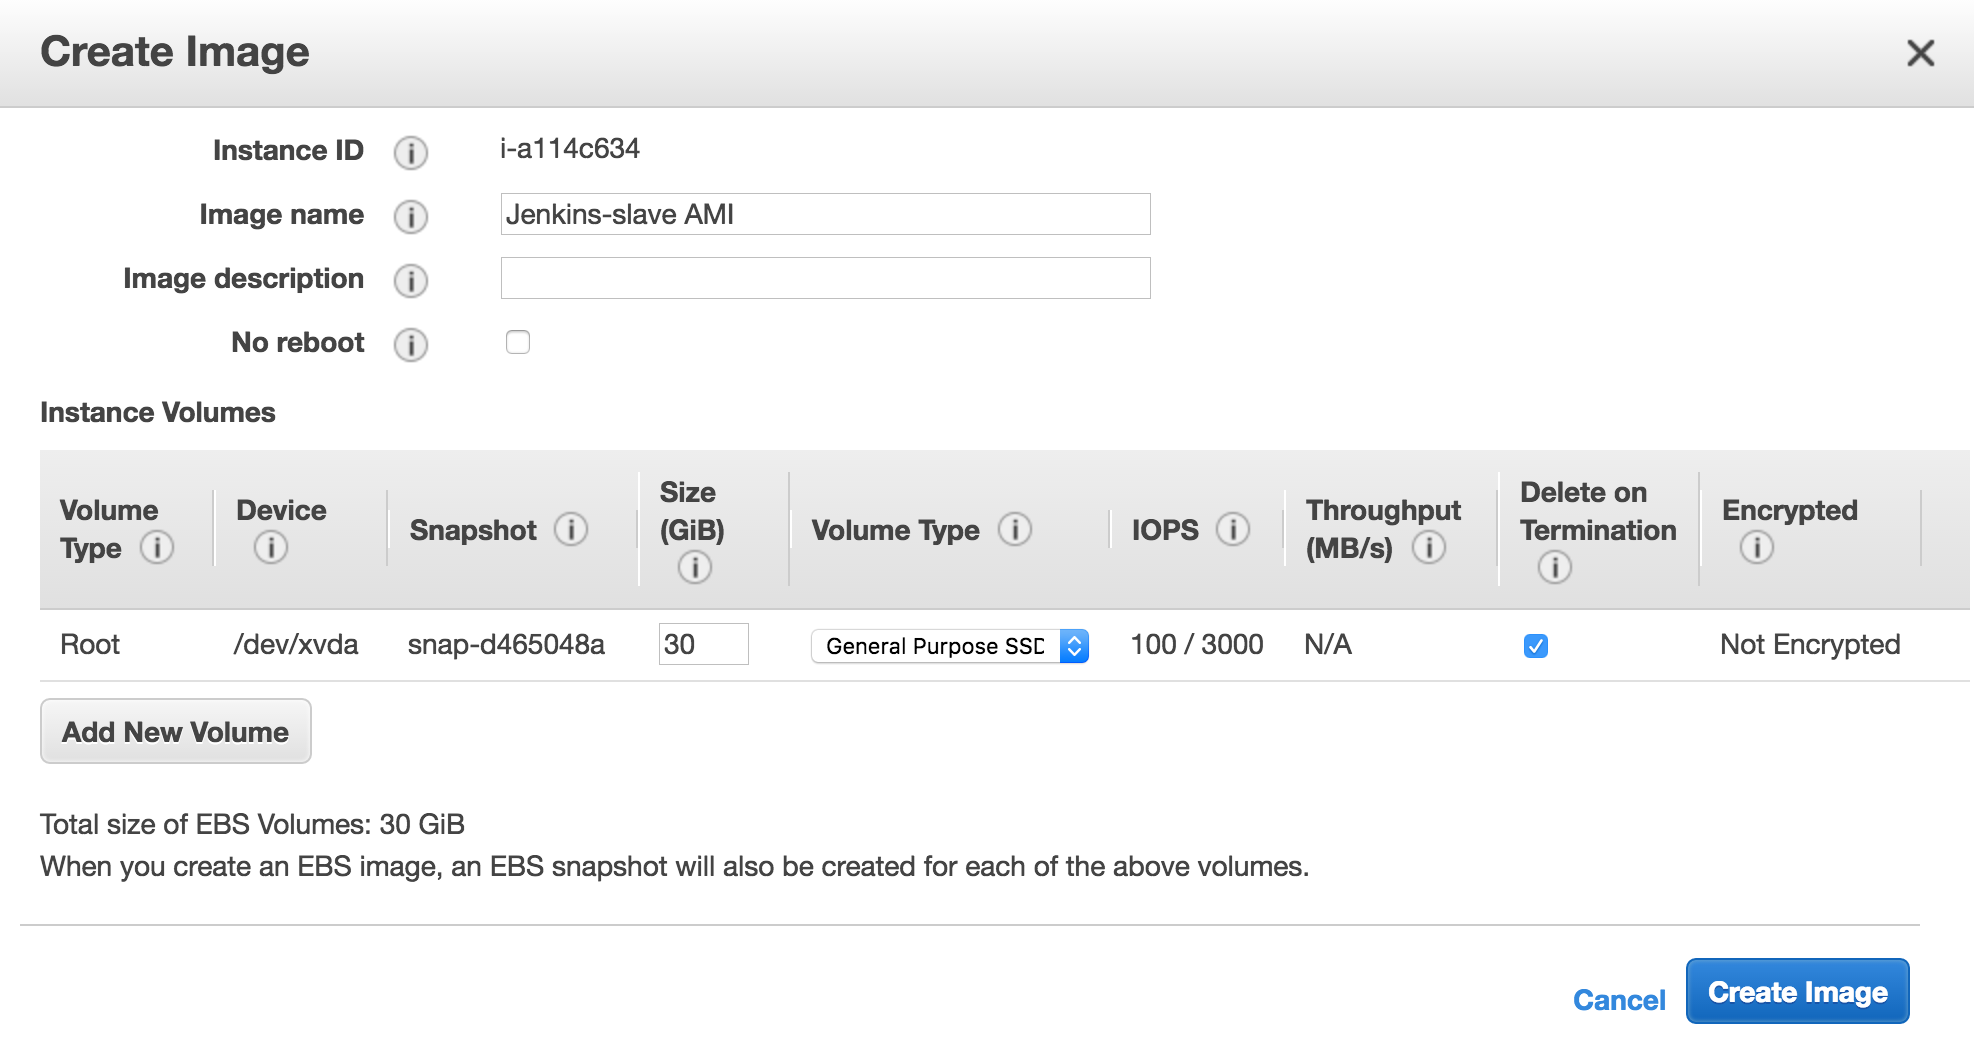
- Once image creation process completes, just copy the AMI ID, you need it for master configuration.

- Update the Slave security group and remove all other IP addresses except master. You should only enable ingress from the IP addresses you wish to allow access to your slave.

- At the end drop slave instance, its not needed anymore.
Configure Jenkins Master
Now start configuring Jenkins master, so it can spawn new slave instance on demand.
- Once Master and Slave are setup, login to Jenkins server administrative console as admin.
- On the left-hand side, click Manage Jenkins, and then click Manage Plugins.
- Click on the Available tab, and then enter Amazon EC2 plugin at the top right.
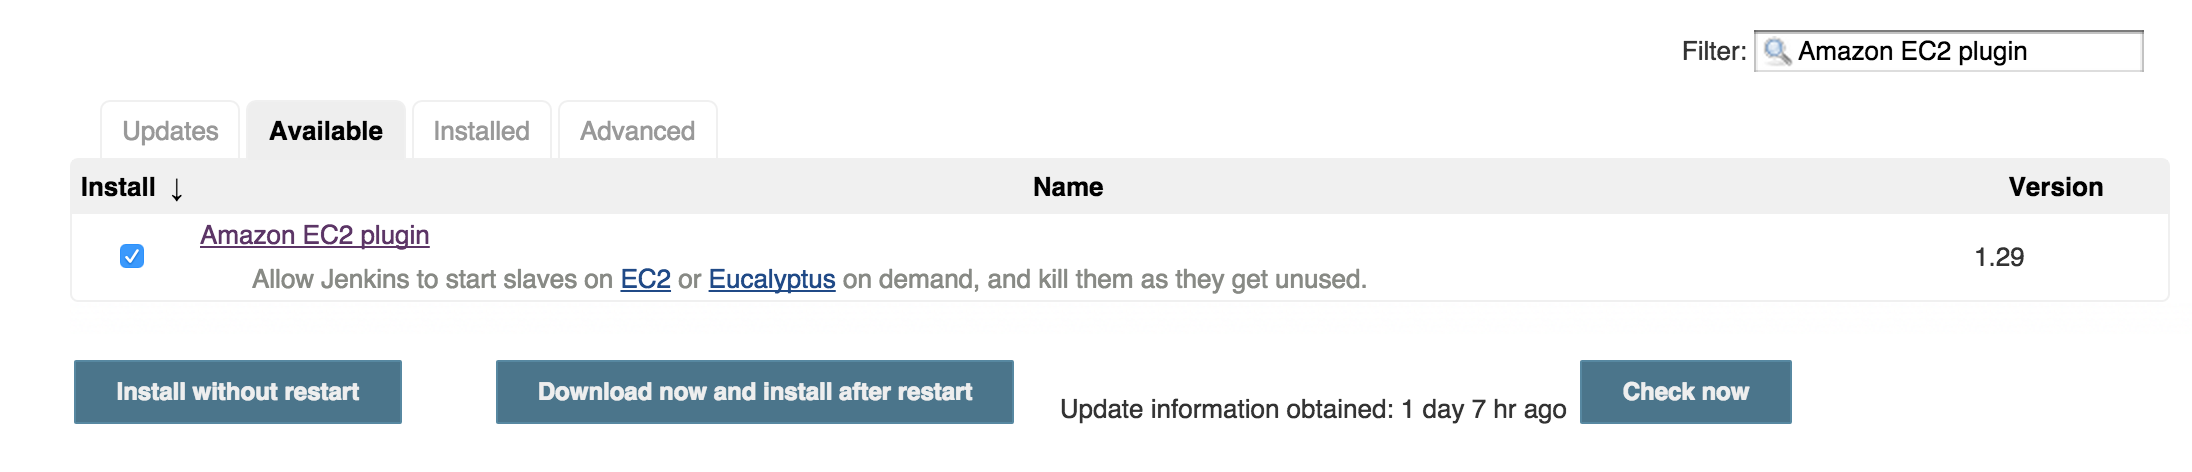
- Select the checkbox next to Amazon EC2 plugin, and then click Install without restart.
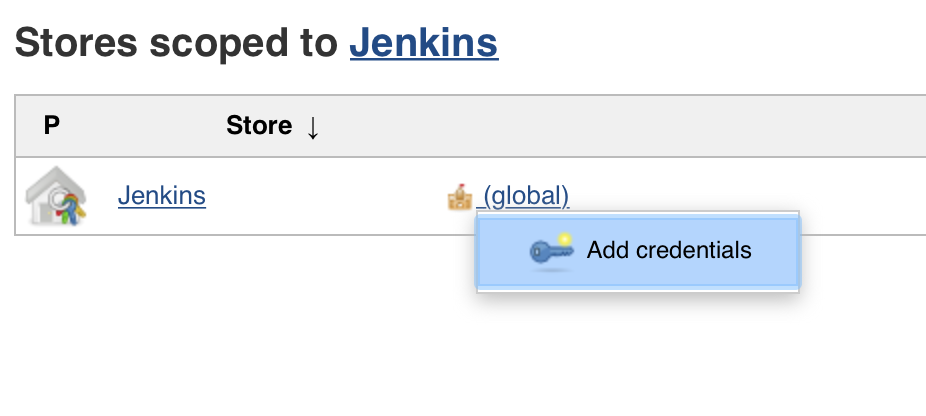
4. Once the installation is done, click Go back to the top page. 4. On the sidebar, click on Credentials, hover (global) for finding the sub menu and add a credential.
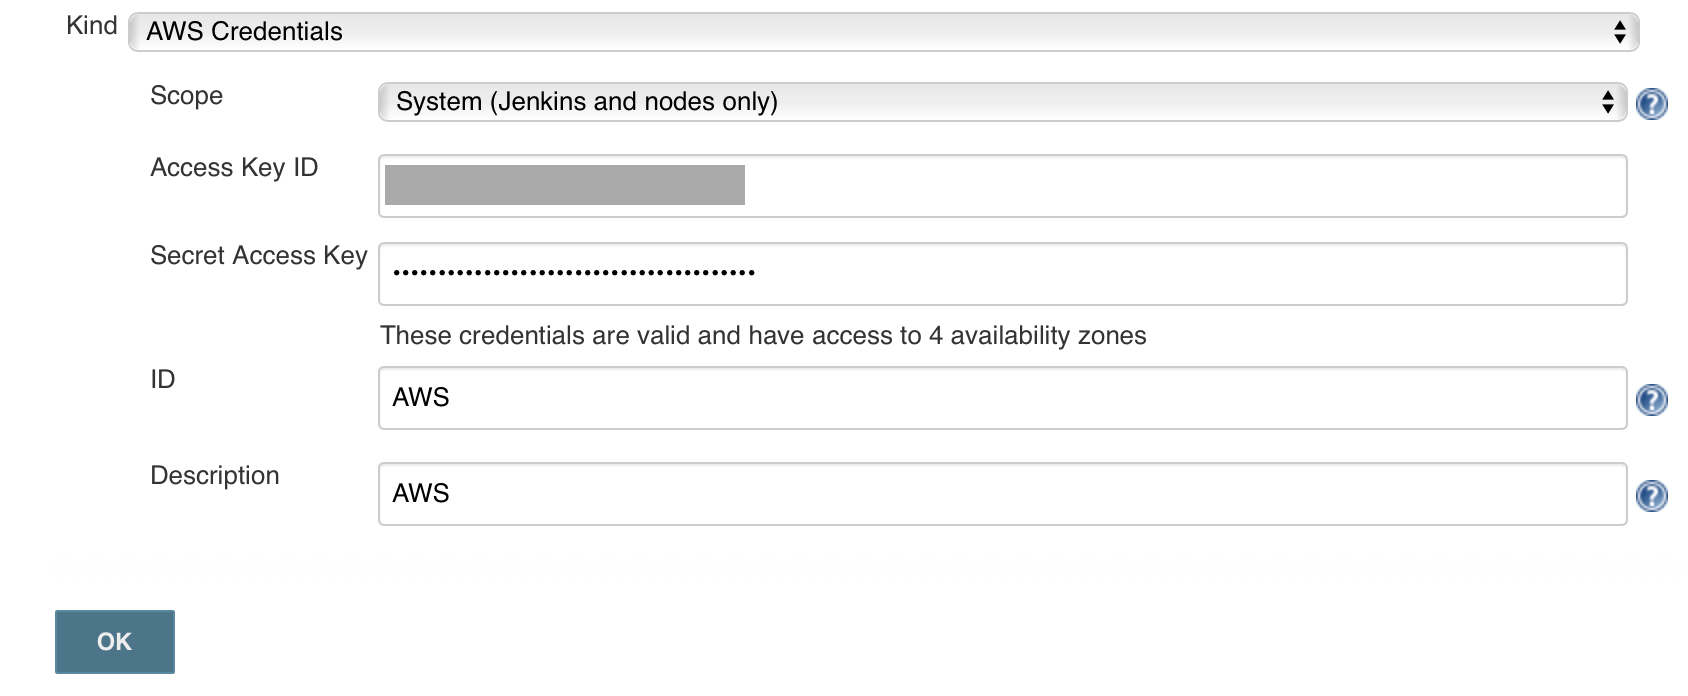
- Choose AWS Credentials, and limit the scope to System, complete the form, if you make an error, Jenkins will add an error below the secret key. Jenkins uses access key ID and secret access key to interface with Amazon EC2.
- Click on Manage Jenkins, and then Configure System.
- Scroll all the way down to the section that says Cloud.
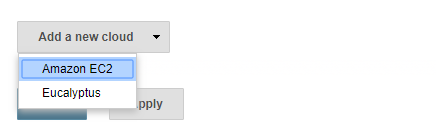
- Click Add a new cloud, and select Amazon EC2. A collection of new fields appears.
- Select Amazon EC2 Credentials that you just created. EC2 Key Pair’s Private key is a key generated when creating a new EC2 image on AWS.
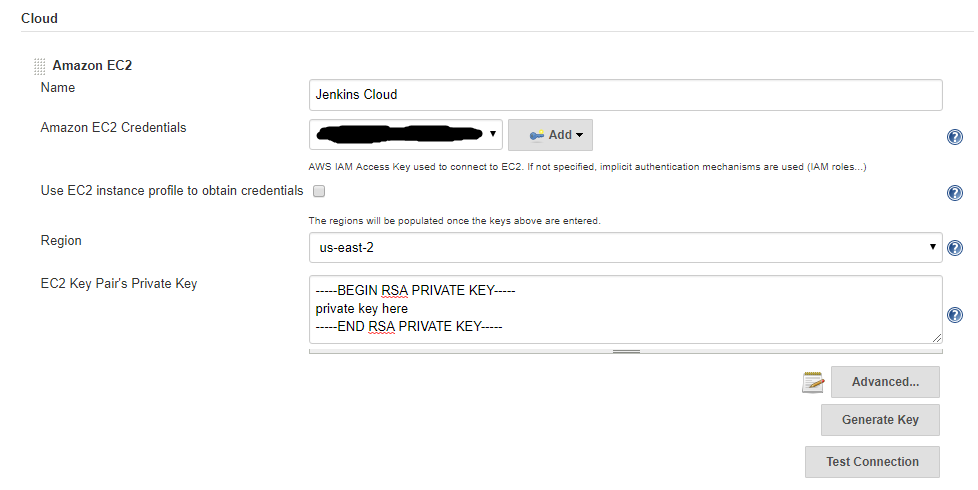
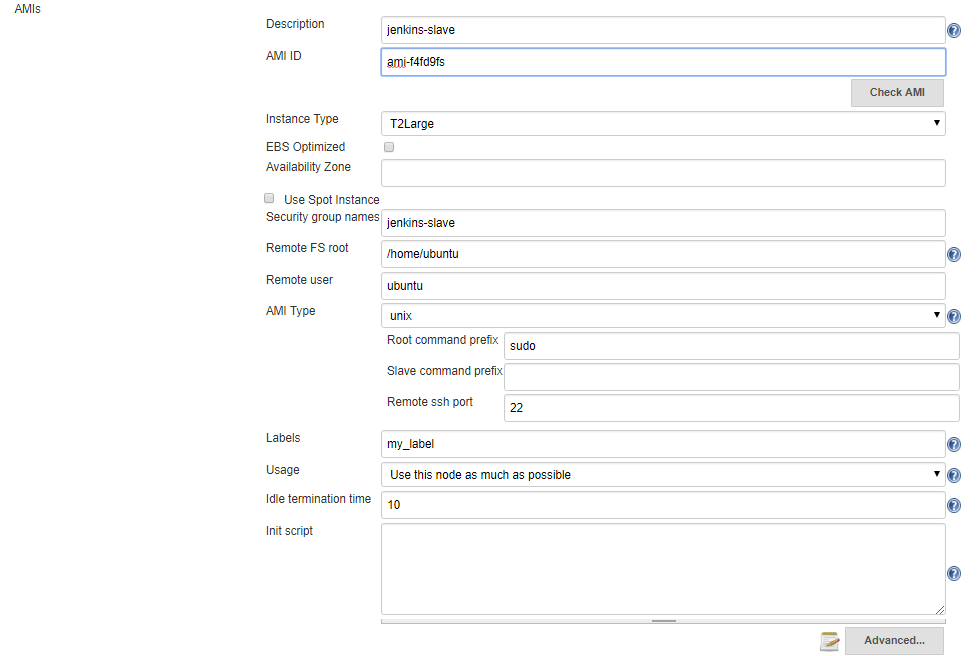
- Complete the form, choose a Region, Instance Type, label and set Idle termination time. If the slave becomes idle during this time, the instance will be terminated.
- In order for Jenkins to watch GitHub projects, you will need to create a Personal Access Token in your GitHub account.
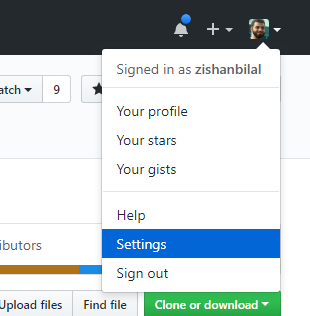
Now go to GitHub and signing into your account and click on user icon in the upper-right hand corner and select Settings from the drop down menu.
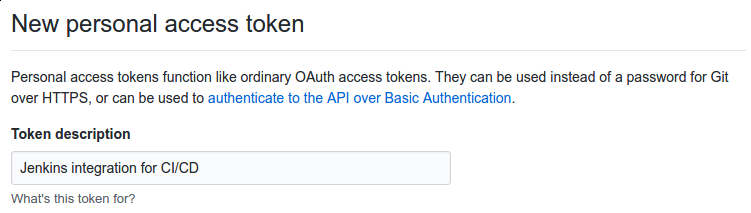
- On Settings page, locate the Developer settings section on the left-hand menu and go to Personal access tokens and click on Generate new token button.

- In the Token description box, add a description that will allow you to recognize it later.
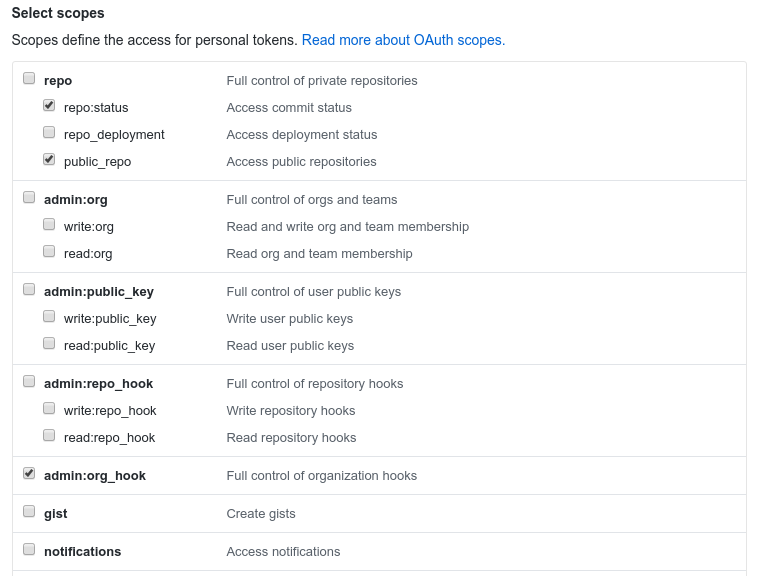
- In the Select scopes section, check the repo:status, repo:public_repo and admin:org_hook boxes. These will allow Jenkins to update commit statuses and to create webhooks for the project. If you are using a private repository, you will need to select the general repo permission instead of the repo sub items.
- When you are finished, click Generate token at the bottom.
- You will be redirected back to the Personal access tokens index page and your new token will displayed.
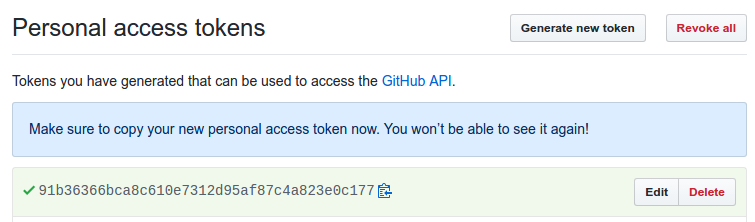
- Copy the token now so that you can reference it later.
Now that you have a token, you need to add it to your Jenkins server so it can automatically set up webhooks. Log into your Jenkins web interface using the administrative account you configured during installation.
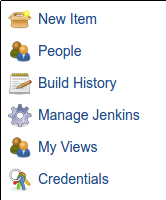
- On Jenkins main dashboard, click Credentials in the left hand menu.
- Click the arrow next to (global) within the Jenkins scope. In the box that appears, click Add credentials.
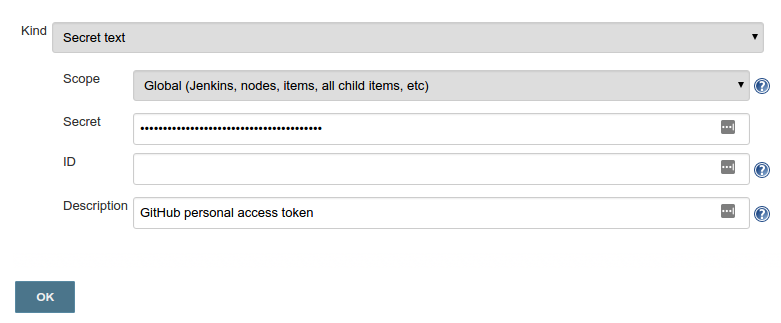
- From Kind drop down menu, select Secret text. In the Secret field, paste your GitHub personal access token. Fill out the Description field so that you will be able to identify this entry at a later date and press OK button in the bottom.
- Jenkins dashboard, click Manage Jenkins in the left hand menu and then click Configure System.
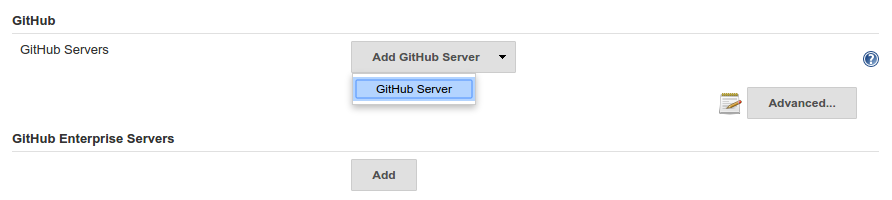
- Find the section with title GitHub. Click the Add GitHub Server button and then select GitHub Server.
- In the Credentials drop down menu, select your GitHub personal access token that you added in the last section.
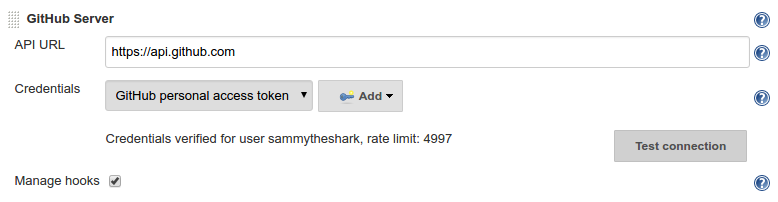
- Click the Test connection button. Jenkins will make a test API call to your account and verify connectivity. On successful connectivity click Save.
Configure Jenkins Jobs
Once Jenkins is installed on master and its configured with slave, cloud and github. The only thing we need now, before configuring the jobs, is to install a set of plugins.
- On the left-hand side of Jenkins dashboard, click Manage Jenkins, and then click Manage Plugins.
- Click on the Available tab, and then enter plugin name at the top right to install following set of plugins.
- Gradle Plugin: This plugin allows Jenkins to invoke Gradle build scripts directly.
- Build Timeout: This plugin allows builds to be automatically terminated after the specified amount of time has elapsed.
- HTML5 Notifier Plugin: The HTML5 Notifier Plugin provides W3C Web Notifications support for builds.
- Notification Plugin: you can notify on deploying, on master failure/back to normal, etc.
- HTTP Request Plugin: This plugin sends a http request to a url with some parameters.
- embeddable-build-status: Fancy but I love to have a status badge on my README
- Timestamper: It adds time information in our build output.
- AnsiColor: Because some tools (lint, test) output string with bash color and Jenkins do not render the color without it.
- Green Balls: Because green is better than blue!
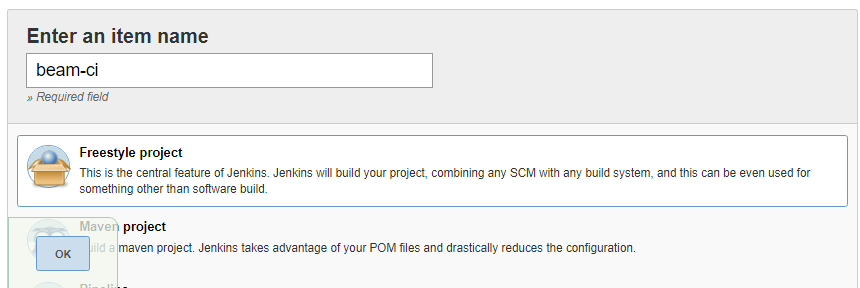
- Back in the main Jenkins dashboard, click New Item in the left hand menu:
- Enter a name for your new pipeline in the Enter an item name field. Afterwards, select Freestyle Project as the item type and Click the OK button at the bottom to move on.
- On the next screen, specify Project name and description.
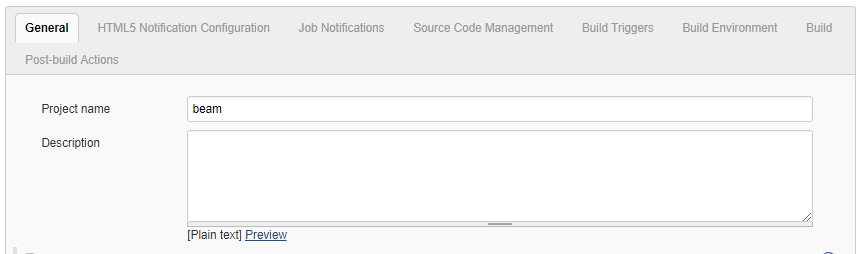
- Then check the GitHub project box. In the Project url field that appears, enter your project’s GitHub repository URL.

- In the HTML5 Notification Configuration section left uncheck Skip HTML5 Notifications? Checkbox, to receive browser notifications against our builds

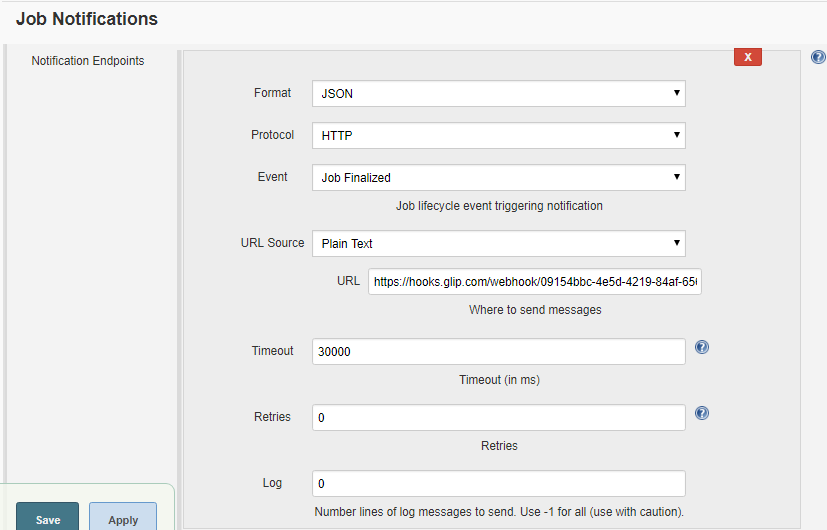
- To configure Glip Notifications with Jenkins build you need to configure notification endpoint under Job Notification section. Select JSON in Format drop-down, HTML in Protocol and to obtain end point URL follow steps 8.1 through 8.3.
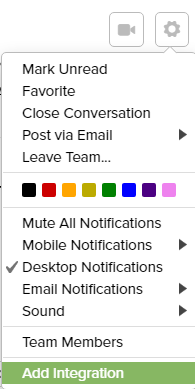
8.1. Open Glip and go to your desired channel where you want to receive notifications and then click top right button for Conversation Settings. It will open a menu, click Add Integration menu item.
8.2. On Add Integration dialog search Jenkins and click on the Jenkins Integration option.
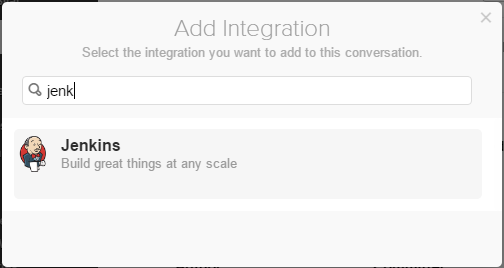
8.3. A new window would appear with integration steps, copy the URL from this window and use in the above step.

- At the end of notification section check Execute concurrent build if necessary and Restrict where this project can run and specify the label that we mentioned in last section while configuring master.

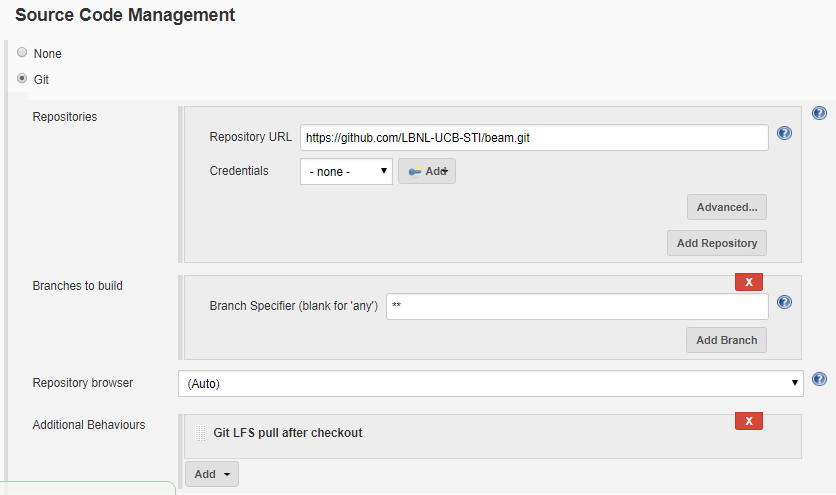
- In Source Code Management specify the beam github url against Repository URL and select appropriate credentials. Put ** for all branches, to activate build for all available bit hub branches.
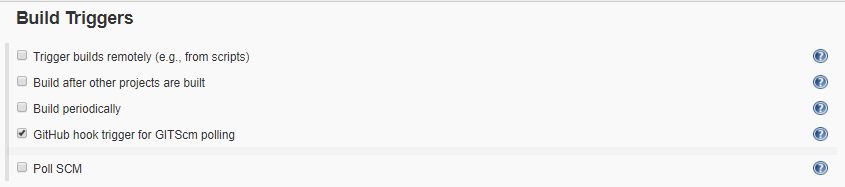
- Next, in the Build Triggers section, check the GitHub hook trigger for GITScm polling box.
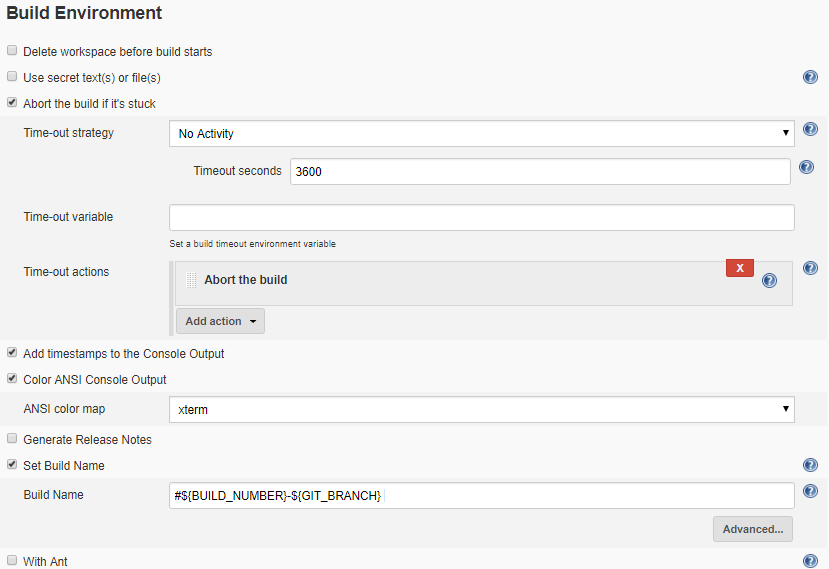
- Under Build Environment section, click Abort build if it’s stuck and specify the timeout. Enable timestamps to Console output and select xterm in ANSI color option and in the end specify the build name pattern for more readable build names.
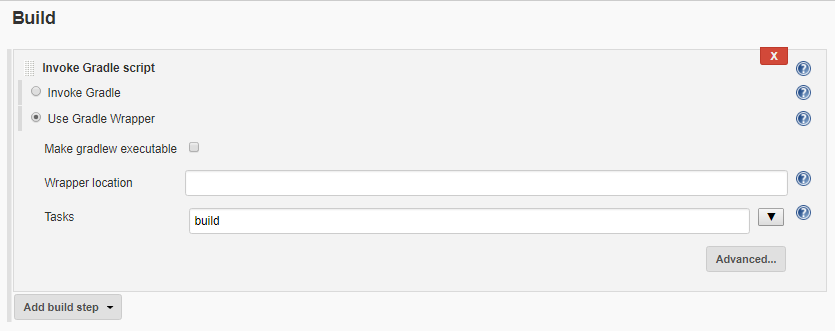
- Last but not least, in Build section add a gradle build step, check Use Gradle Wrapper and specify the gralde task for build.
Configure Periodic Jobs
You can schedule any Jenkins job to run periodically based on provided schedule. To configure periodic build follow the steps below:
- First click on Configure menu item from menu on left hand side of Job/Project home page.
- On the next (configuration) page, go to Build Triggers section.
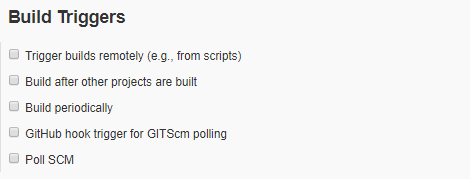
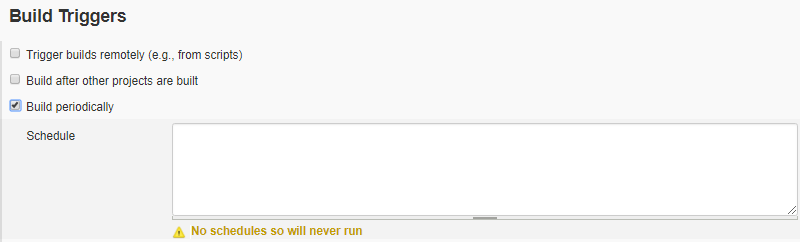
- Click on check box labeled Build periodically to enable the option. It will expand and ask for Schedule with a warning message some thing like, No schedules so will never run.
You have to specify a schedule by following the similar syntax of cron job as a line consists of 5 fields separated by TAB or whitespace:
MINUTE HOUR DOM MONTH DOW
- MINUTE Minutes within the hour (0–59)
- HOUR The hour of the day (0–23)
- DOM The day of the month (1–31)
- MONTH The month (1–12)
- DOW The day of the week (0–7) where 0 and 7 are Sunday.
To schedule once daily every 24 hours for only 5 working days, we need to specify some thing like:
H 0 * * 1-5
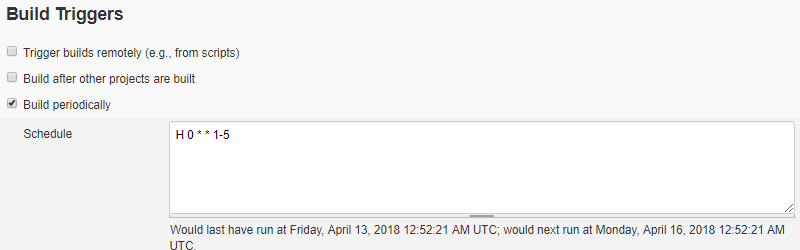
As you specify the schedule, warning would be replaced with a descriptive schedule.
- Save the configurations and now you have setup job to run periodically.
Automated Cloud Deployment
Automatic Image (AMI) Update
In Automated Cloud Deployment capability, there is a baseline image (AMI) that used to instantiate new EC2 instance. It contains copy of git repository and gradle dependency libraries. All of these are outdated in few days due to active development of BEAM. And when we start instance from an outdated image it take additional time to update them before starting the simulation/run. This process help Cloud Automatic Deployment to keep up to date image for fast execution. To trigger this update process a Cloud Watch Event is setup with one week frequency. This event triggers an AWS Lambda (named updateDependencies) and lambda then starts an instance from the outdated image with instructions to update the image with latest LFS files for pre configured branches (these branches are mentioned in its environment variables that we can configure easily without any change in lambda code). One LFS files and gradle dependencies are updated in the new instance, the instance invoke a new lambda (named updateBeamAMI) to take its new image. This new lambda creates an image of the instance, terminate the instance and update this new image id to Automated Cloud Deployment process for future use.
This process is designed to get latest LFS files from different branches. To add a new branch or update existing one, an environment variable named BRANCHES need to update with space as branch name delimiter.